In order to search Google Maps using Leadinary, you’ll need to have set up a Google Cloud account and API Key for Leadinary to use to perform it’s searches. The high-level steps that you’ll need to follow are as follows:
- Sign Up for a Google Cloud Account
- Add a Billing Account with billing details and credit card to the Google Cloud Account.
- Create a Project for the Leadinary App
- Enable the appropriate APIs inside of the Project. The following APIs are required to be enabled:
- Places API
- Maps Javascript API
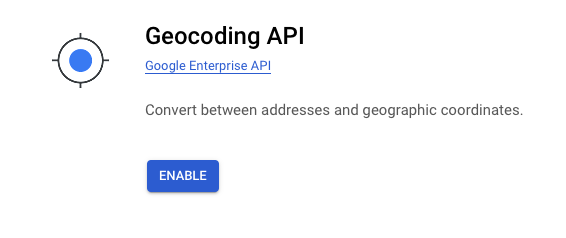
- Geocoding API
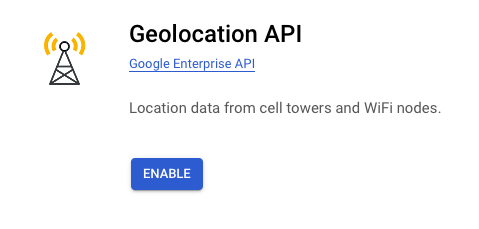
- Geolocation API
- Maps Embed API
- Create an API Key.
Video Instructions
Here is a video that walks you through the process that you can follow along and complete the steps:
Step-By-Step Start Guide
Here is a full step-by-step guide with instructions on how to get your Google API Key.
- Go to the Google Cloud website by visiting: https://cloud.google.com
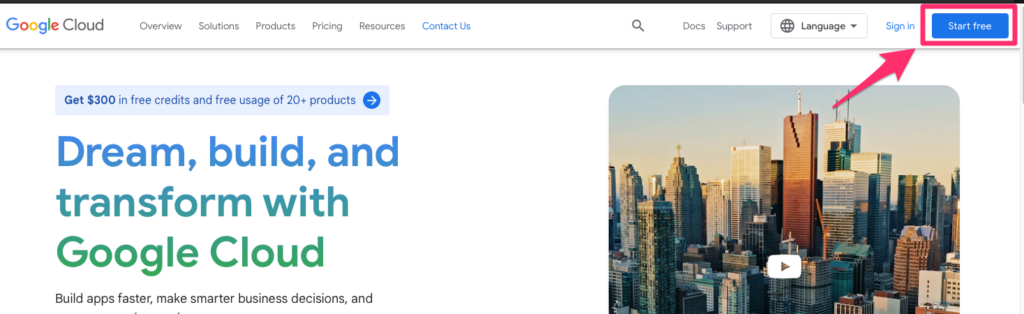
- If you already have a Google Cloud account (likely via an existing gmail account), you can log in by clicking on the “Sign In” link on the upper right. If you do not have a Google Cloud account, follow the next step.
- If you do NOT have an existing google cloud account, click on the blue “Start Free” button on the upper right corner of the site and follow the prompts to create an account.
- After either logging in to your existing account or creating a new account and accepting the terms and conditions, it’s time to create a new project.
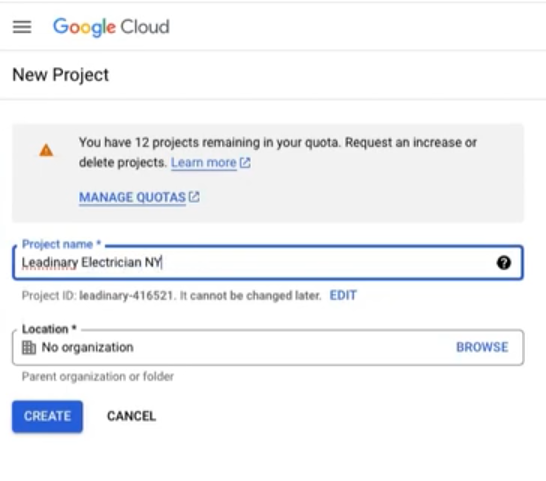
- Access the Project drop-down menu and select New Project inside the window that appears.
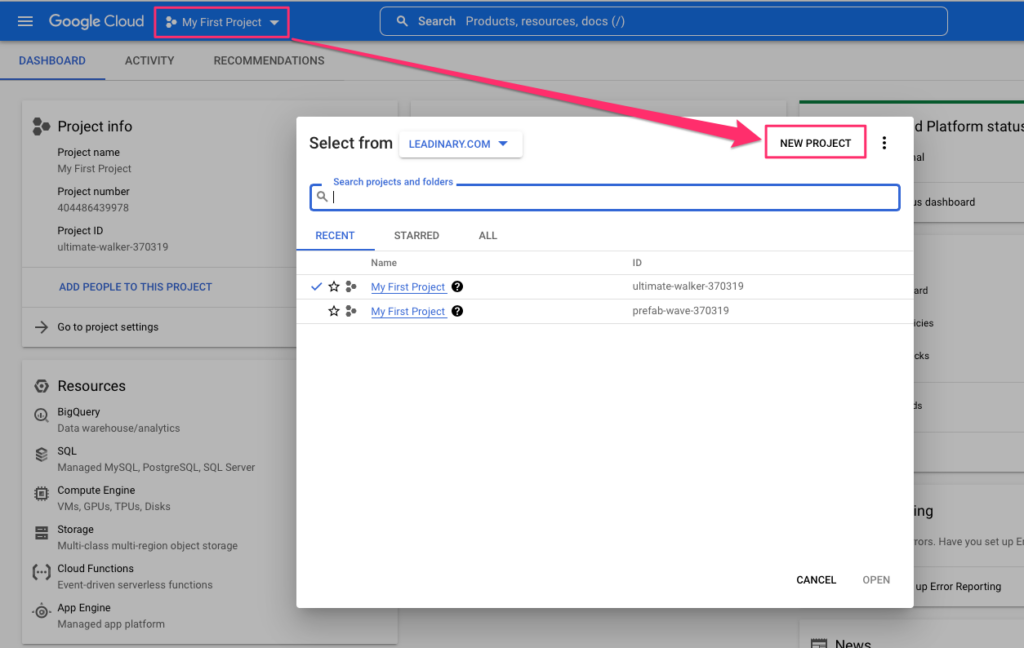
- You can name your project Leadinary or anything that will denote that this project connects your business with Leadinary. If you have an organization already created, you can select the organization for your business, however if you don’t have an organization, you should be able to select “No Orgranization”. Then click Create and wait for the project creation process to complete (it might take several seconds).
- Next – it’s time to add a billing profile.
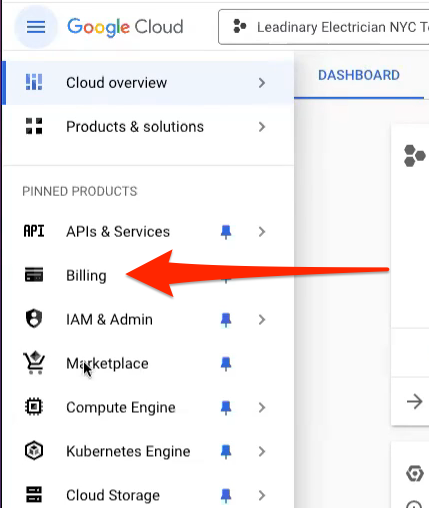
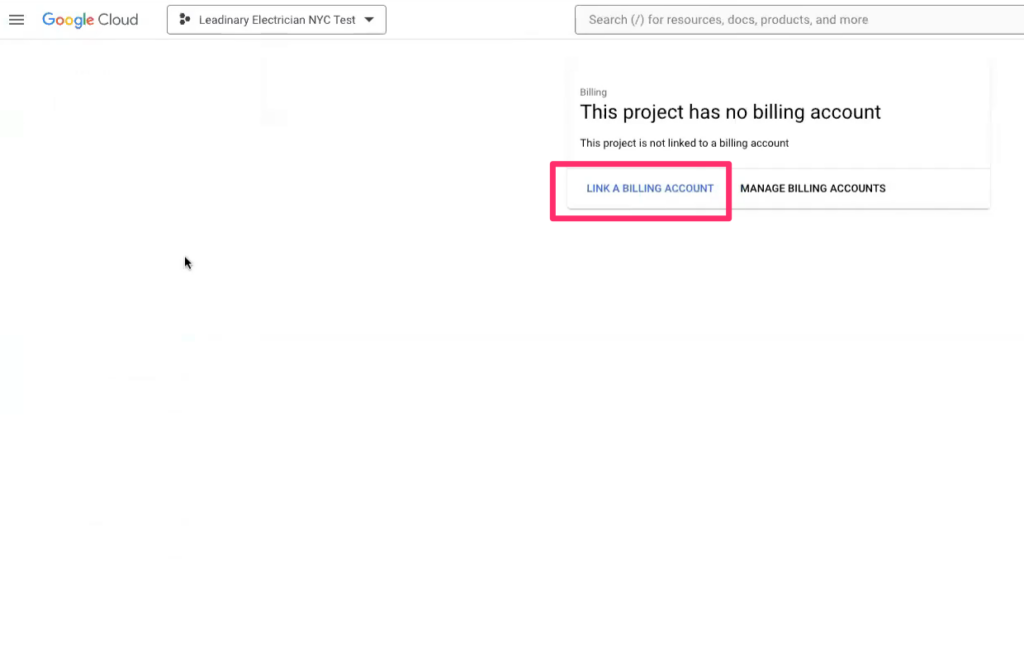
- Go to the Google Cloud Platform Console (here), click the Hamburger menu, and click on Billing.
- Then, click on “Link a Billing Account.”
Note: If a billing account is already associated with your Google Cloud account, you should ensure it’s selected and then skip the next 2 steps of this guide and resume at Step 12, however, you should still ensure that billing is connected at step 11.
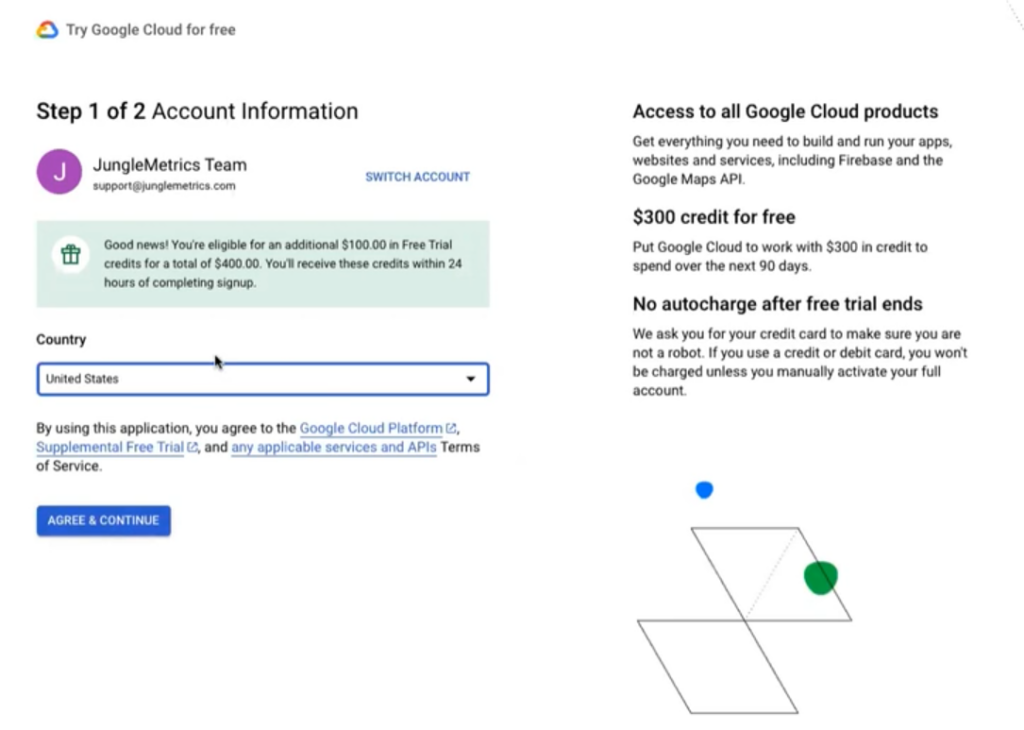
- Fill out the Account Information by entering your name and country and answering any additional questions they may ask – then click “Agree & Continue“.
- Next, enter payment information and payment method and click on the “Start Free” or Submit button.
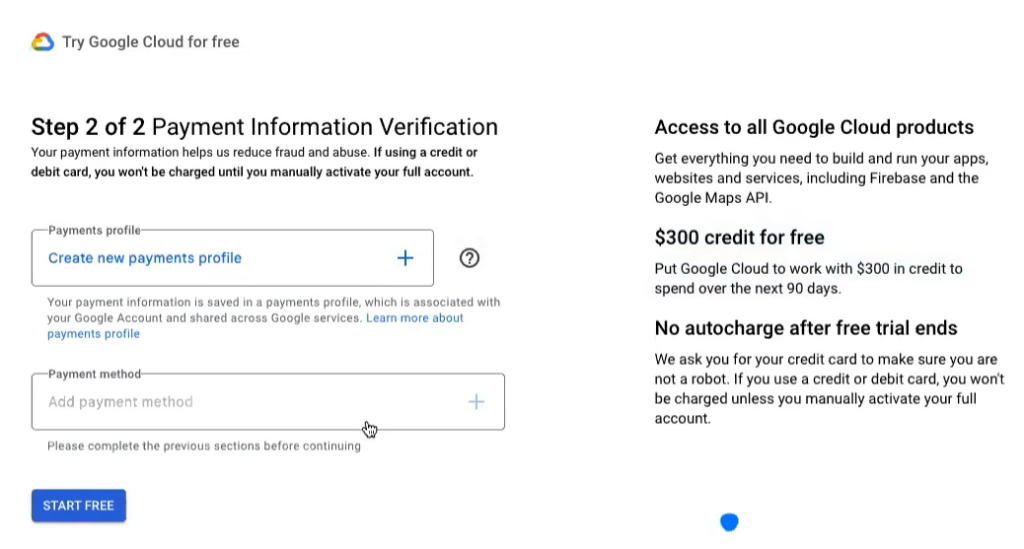
Note: When you enable billing for the first time, you will receive $300 worth of credit from Google in addition to your monthly free allotment.
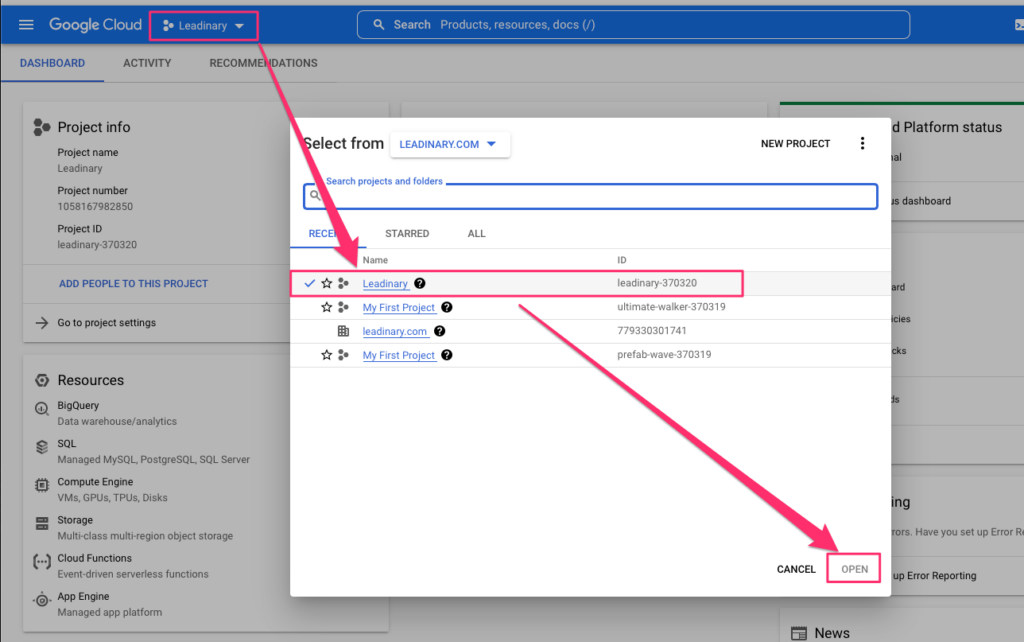
- After you’ve created a project and added billing – you’ll want to enable the API’s inside of your project. Make sure the project you created is selected in the upper left corner. If it isn’t, click on the dropdown shown below and select the proper project.
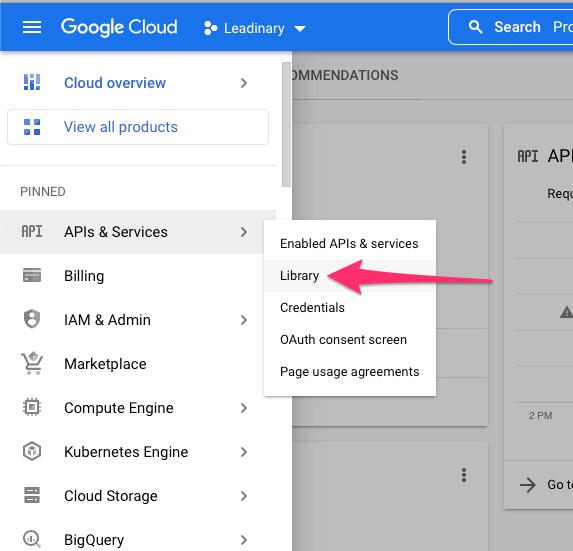
- Navigate to the APIs and Services – Select the hamburger menu (top-left corner) and choose APIs & Services > Library from the left panel.
- Next, you’ll want to enable all 5 of the required APIs by doing the following:
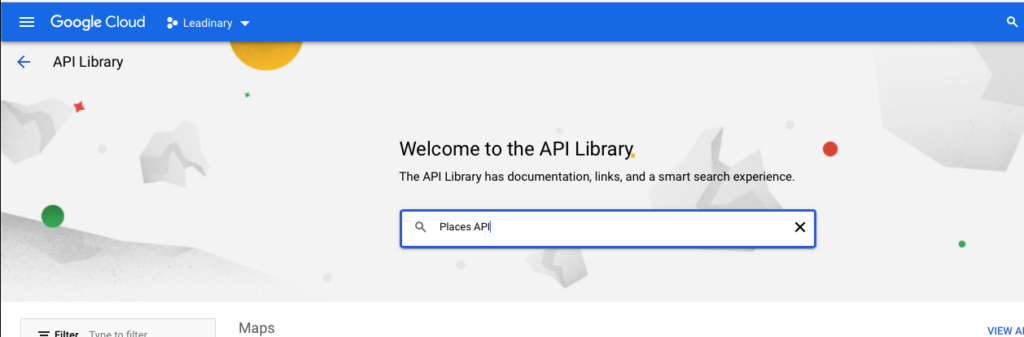
- Search for Places API
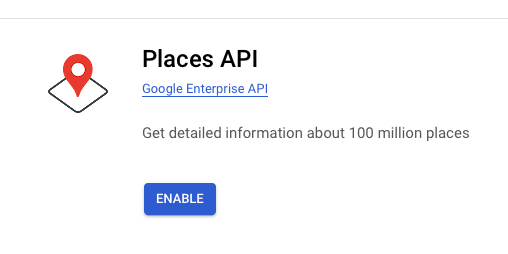
- Select the Places API by clicking on the Places API search result, then on the next screen click Enable.
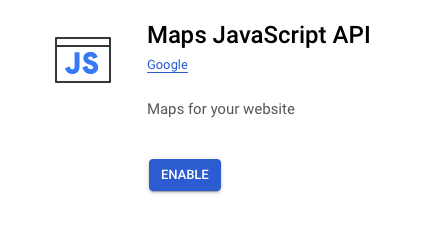
- Next, you’ll want to repeat the same process of searching and enabling APIs you completed in steps 14 through 15 for the following APIs:
- Maps Javascript API
- Geocoding API
- Geolocation API
- Maps Embed API

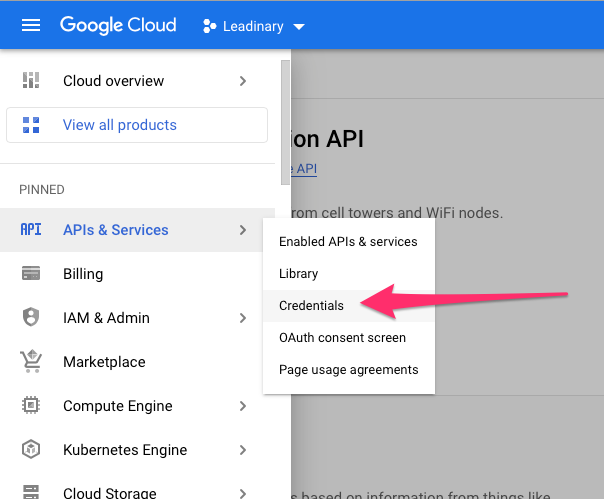
- Next, select the hamburger menu and then choose APIs & Services > Credentials.
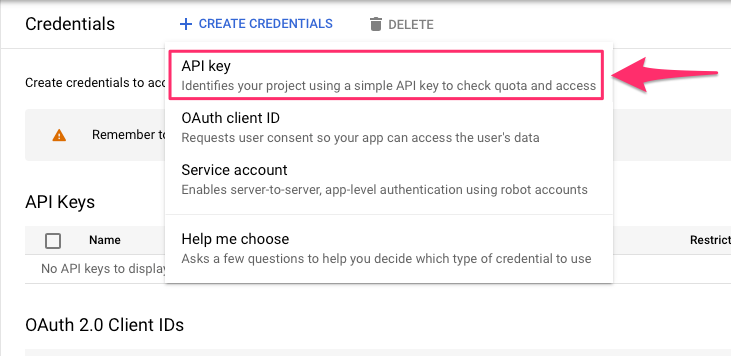
- On the credentials screen, click on the Create Credentials button.
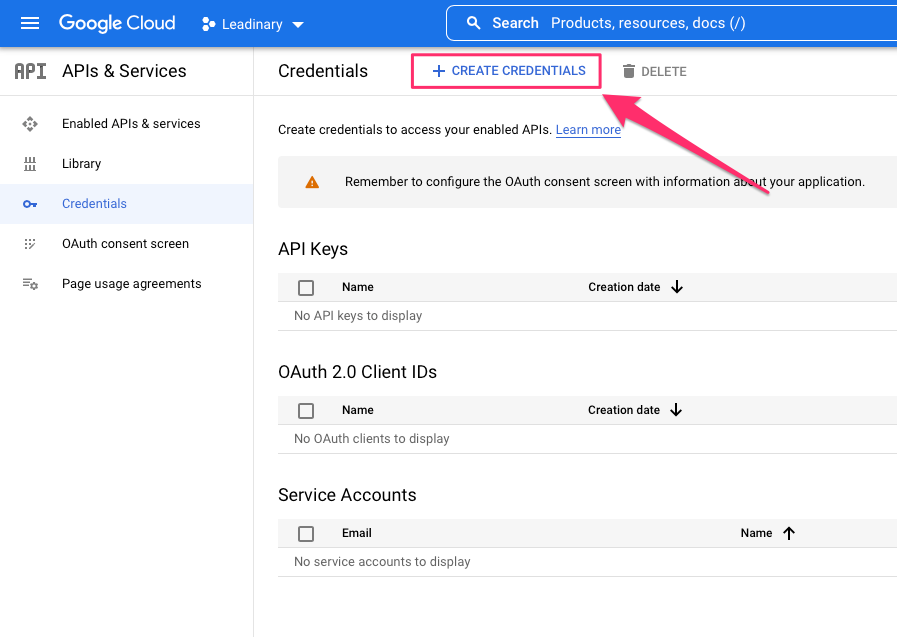
- Inside the dropdown menu that appears, click on API Key and wait for the key to be generated.
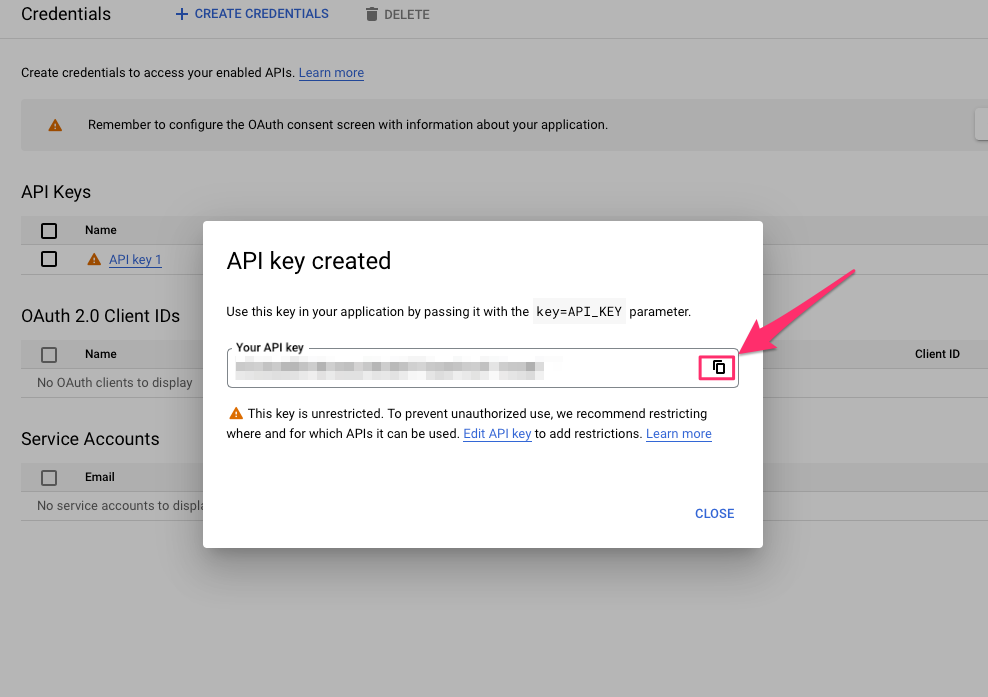
- In the API Key created window that appears, click on the Copy to Clipboard icon to copy the API key to your device’s clipboard
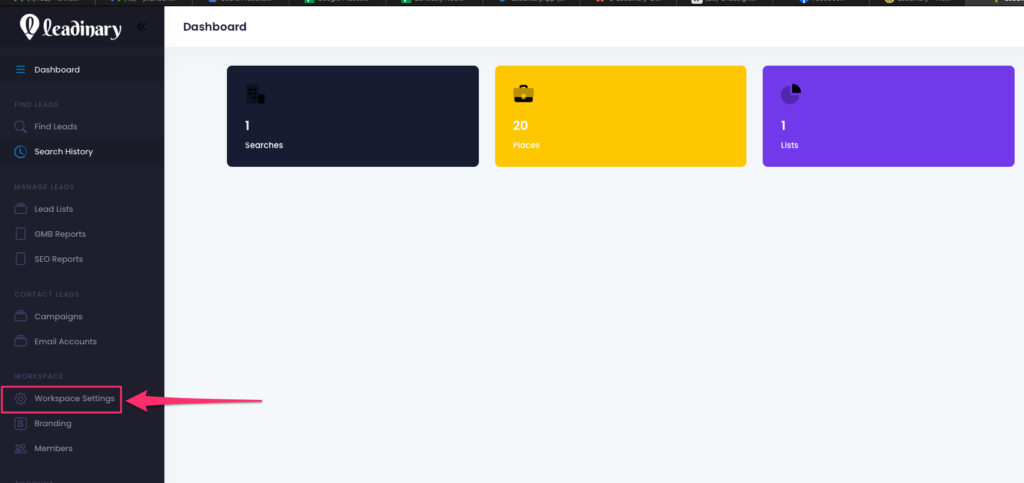
- Once you have the api key copied, go back to your Leadinary dashboard (here), then select the Workspace Settings menu option inside of the Left Admin area
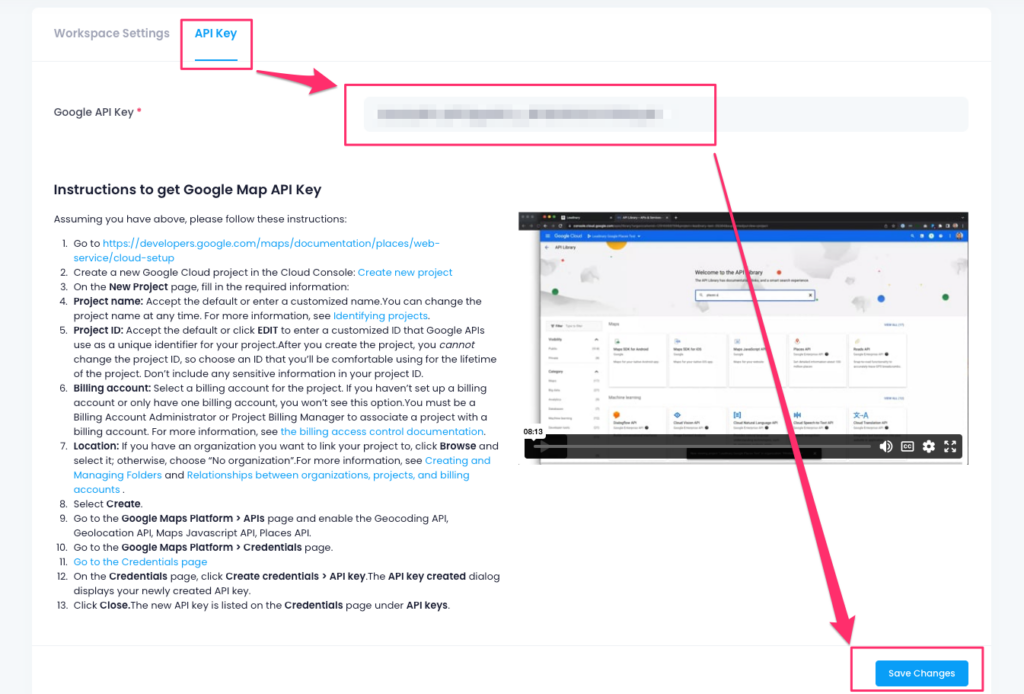
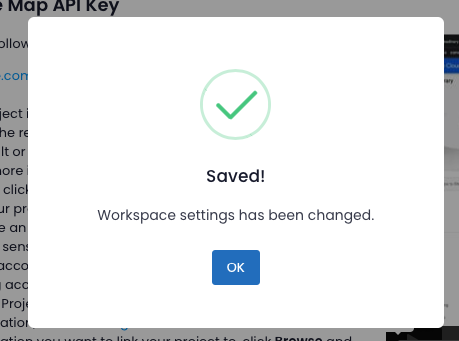
- Select the API Key tab then paste the API key you just generated inside the box labeled “Google API Key”. Finally, click the blue Save Changes button at the bottom right of the screen.
You’re done! You can now search and find leads using Google Maps as a source!
IMPORTANT NOTE: You must have a valid credit card added to your billing profile inside of google Cloud Console to fully complete this setup. Unfortunately, there is no way to get around this requirement from Google. As long as you are staying within your free monthly credits, you should not get charged.


